


In the Bookmarks section, you will learn how to create and manage bookmarks in the ECDIS software. Bookmarks are a crucial tool for quick access to significant points and areas on the map. They allow you to save information about important locations and easily return to them at any time. In this section, you will get acquainted with the process of creating bookmarks, learn how to edit their coordinates, add annotations, and organize bookmarks into folders for ease of use.
4.14. Bookmarks
>
4.14. Bookmarks
>
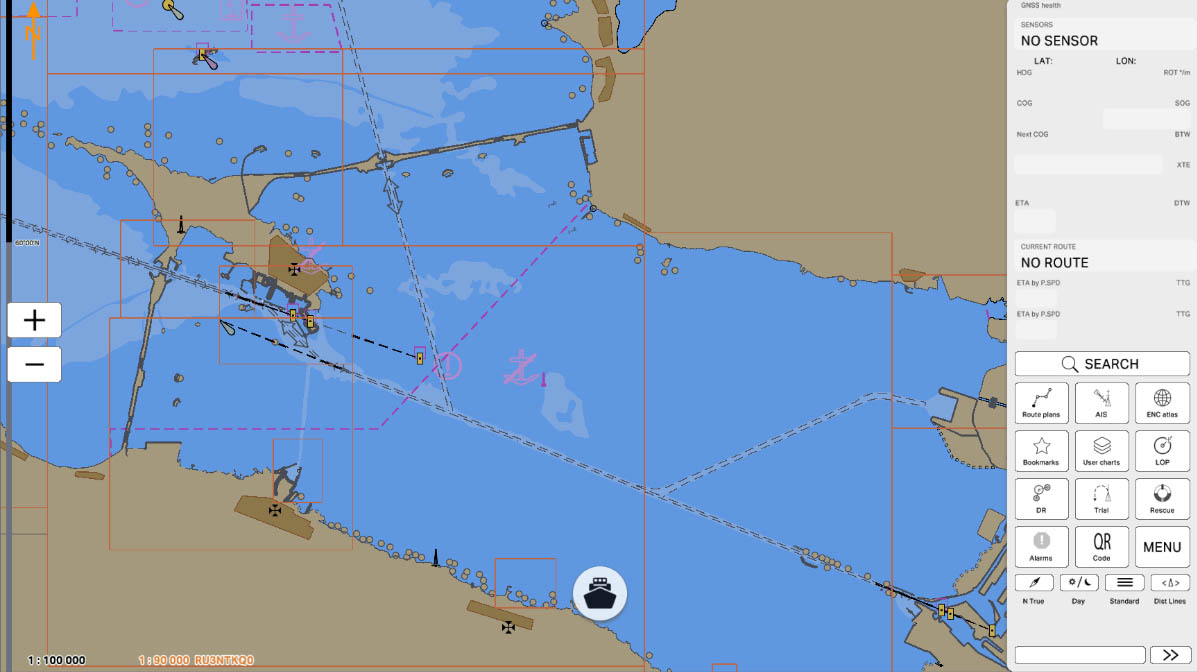
Part 4 - Instruments
Select 'Part 1 - Interface' to start the tutorial. After successfully completing this part, new sections and all subsequent ones will be accessible in this menu.
The currently examined element is indicated by a green outline and numbering. Explanations will be provided in this window. After reviewing the information, click the 'Next' button or follow the instructions. If you wish to go back to the previous step, click 'Back'. If you decide to finish the study prematurely or choose another section, click 'End'.
Message
0

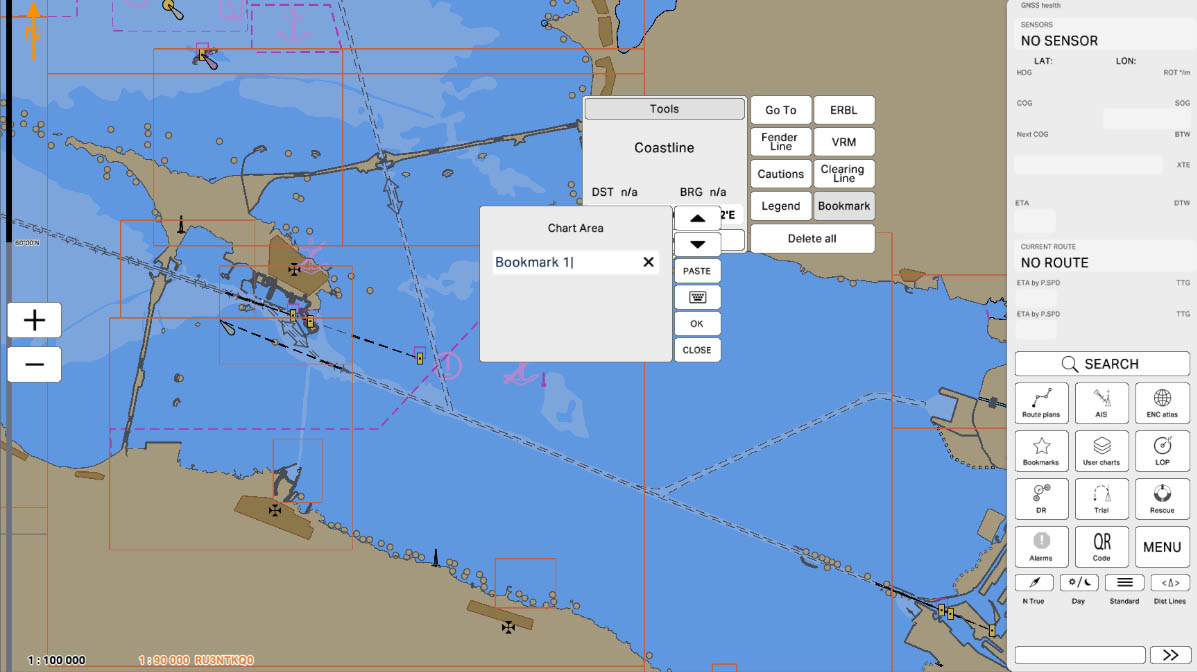
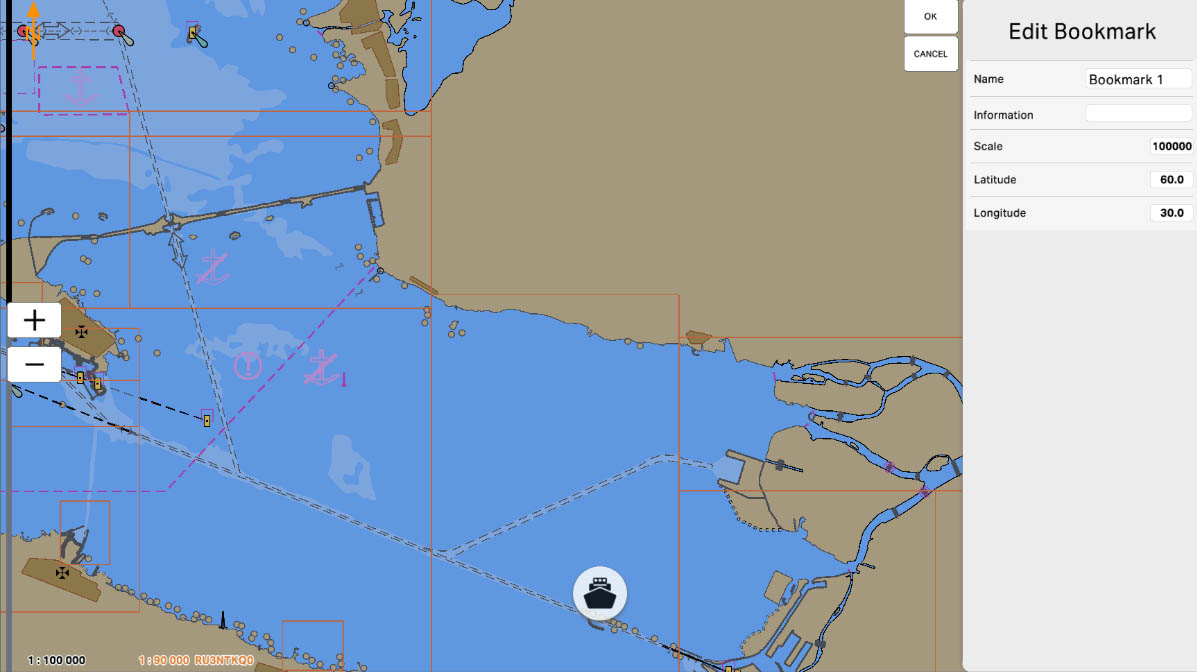
In the window that appears, you need to type a name for the bookmark you are creating. You can do this using either the desktop keyboard or the on-screen keyboard. To bring up the on-screen keyboard, click the button with the keyboard icon.
To continue, click "Next".
To continue, click "Next".
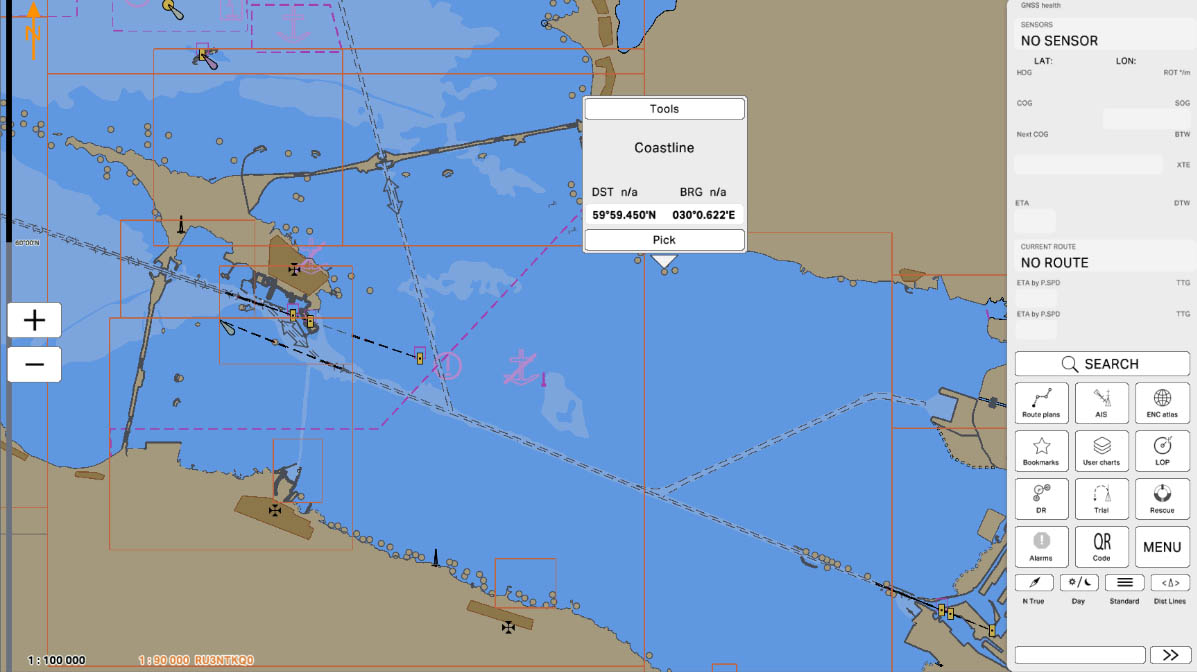
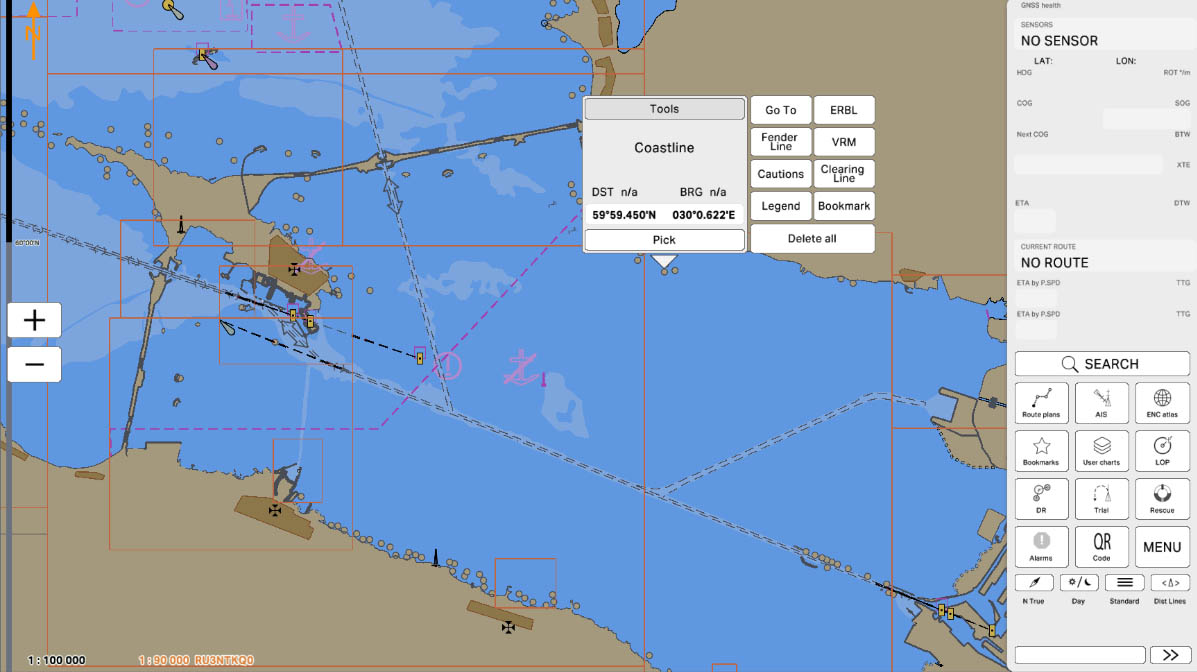
Creating a New Bookmark
4
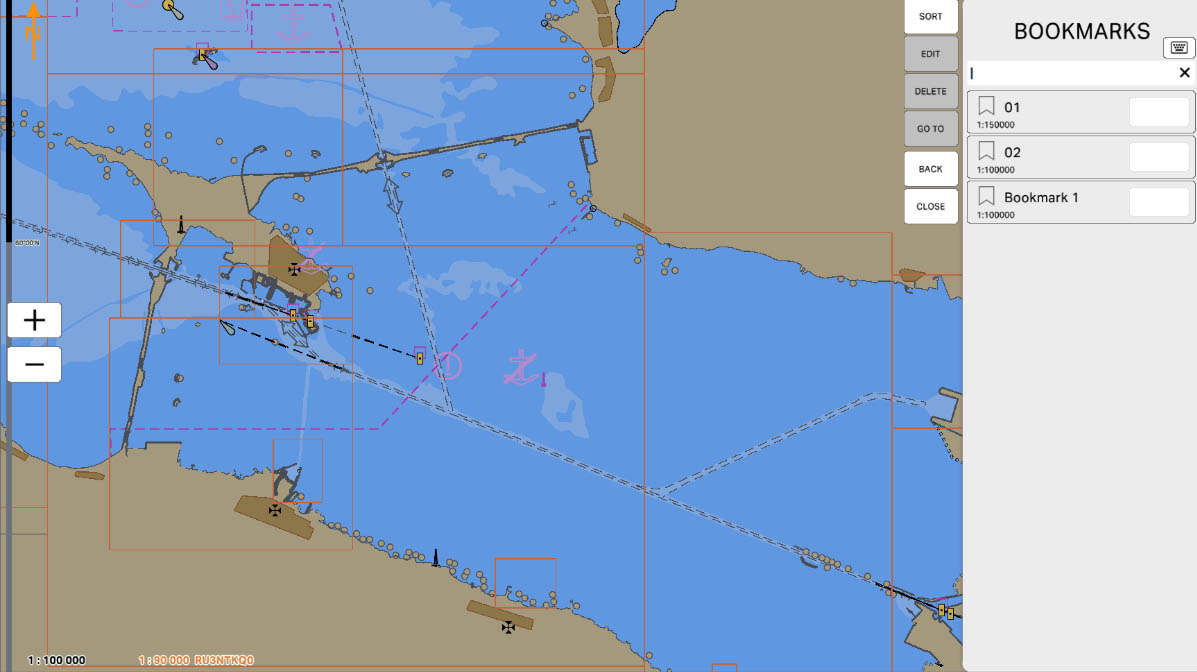
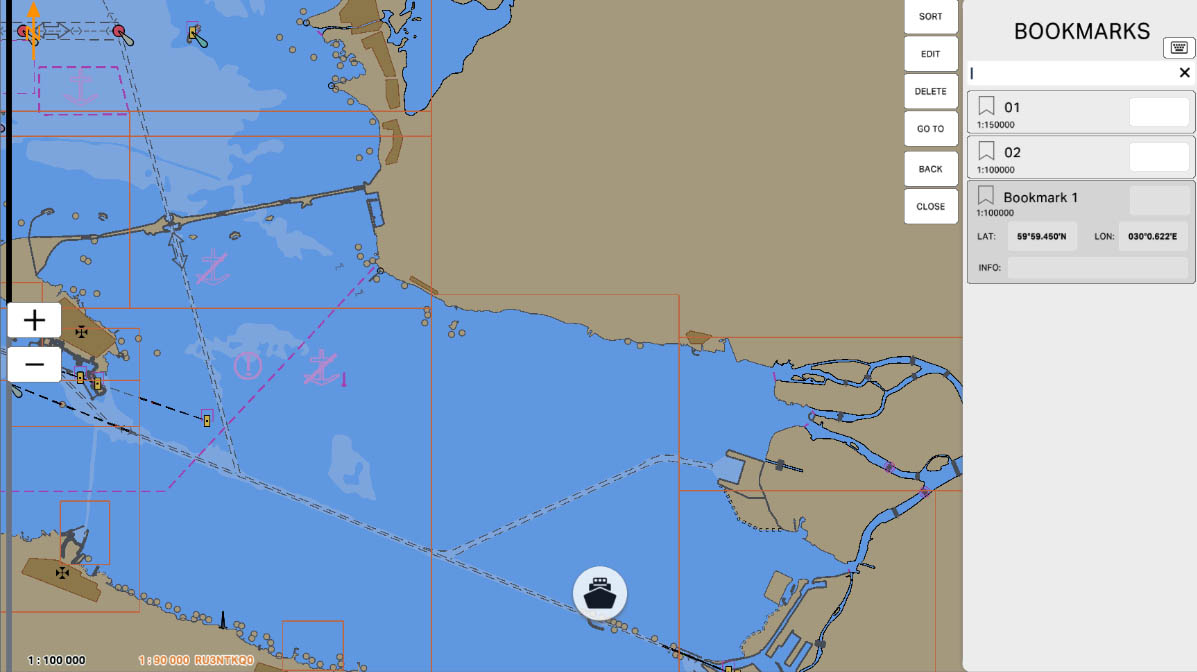
The tab is now active, indicated by its dark gray color. Actions (Edit, Delete, Go To, and Move to Folder) are now available. Detailed information has appeared on the open tab:
LAT: The latitude of the bookmark.
LON: The longitude of the bookmark.
INFO: Additional information about the bookmark.
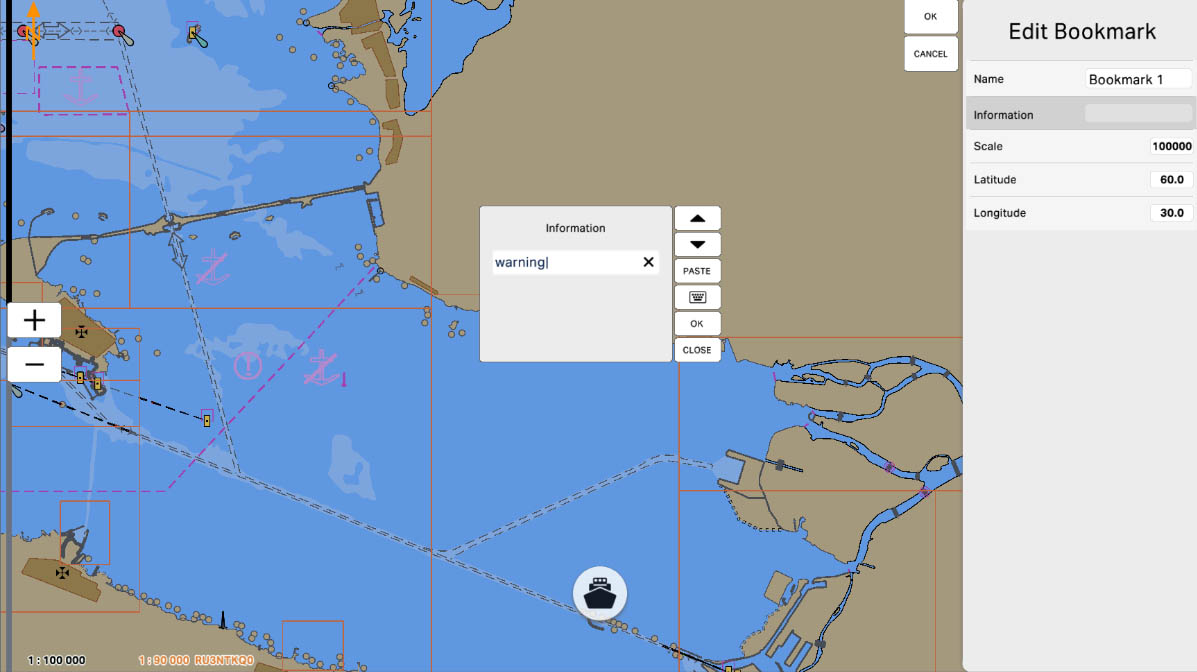
To add notes to the bookmark, click the "Edit" button.
LAT: The latitude of the bookmark.
LON: The longitude of the bookmark.
INFO: Additional information about the bookmark.
To add notes to the bookmark, click the "Edit" button.
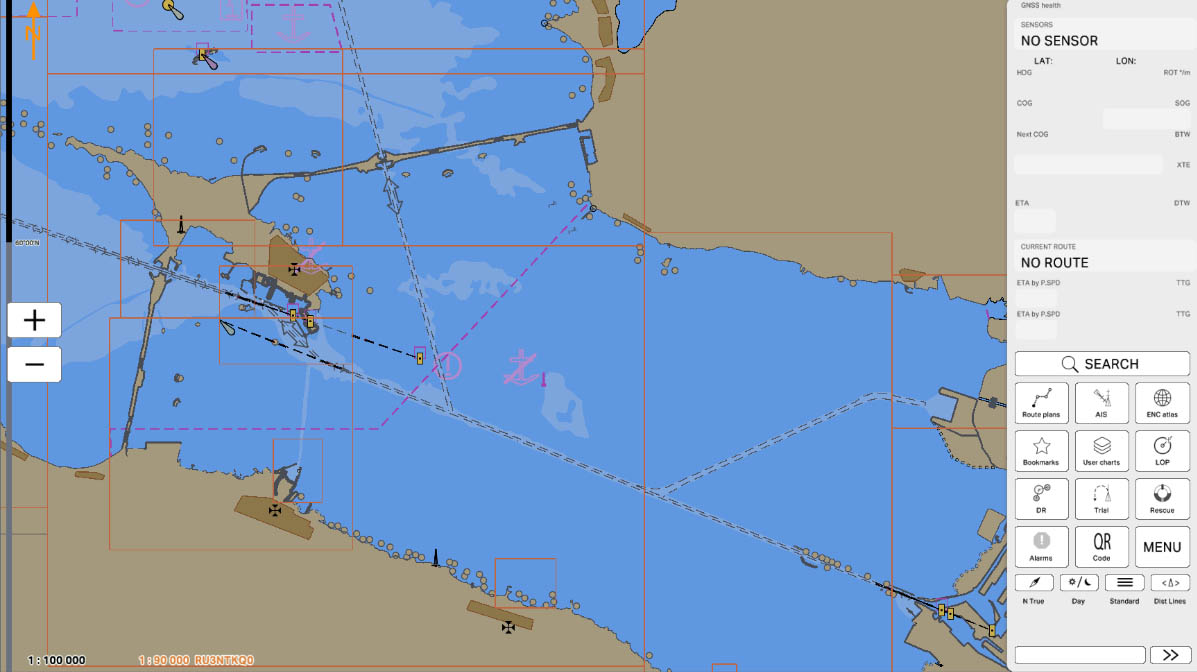
Bookmarks Panel
8

The "4.14. Bookmarks" section has been completed.
Success!